Showing posts with label Oracle By Examples. Show all posts

Creating an XML Data Server


An XML Data Server corresponds to one XML file that is accessible through your local network.

XML files are accessed through the Oracle Data Integrator Driver for XML. This JDBC driver loads the XML file hierarchical structure in a relational structure in a schema stored in memory to enable SQL queries through JDBC. It is also able to unload the relational structure back in the XML File.
You must have following information:
·         The location of the DTD file associated with your XML file
·         The location of the XML file
·         The name of the Root element of your XML file

Creation of the Data Server


Step: 1) Select XML from the Technology list view. Right click and select New Data Server.


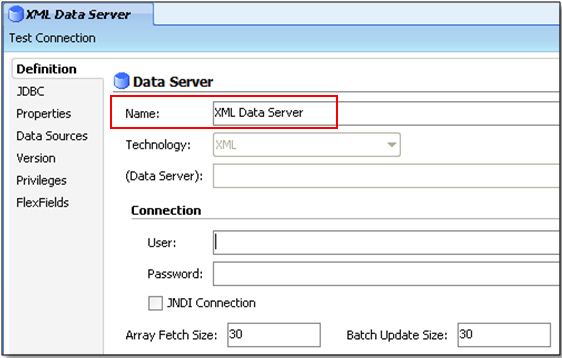
Step: 2) Fill in the following fields in the Definition tab:

·         Name: Name of the Data Server as it will appear in Oracle Data Integrator.
·         User/Password: Not used here.


Step: 3) Fill in the following fields in the JDBC tab:
                        JDBC Drivercom.sunopsis.jdbc.driver.xml.SnpsXmlDriver
                        JDBC URLjdbc:snps:xml?[property=value&property=value...]
 

JDBC Driver Properties:
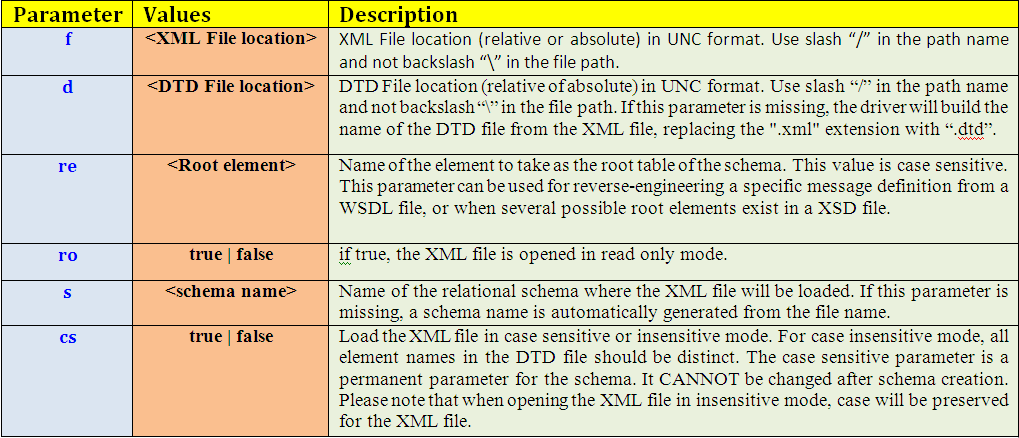
 

Example:
jdbc:snps:xml?f=../xml/department.xml&re=Department_DIM&ro=false&case_sens=true&s=Depart


 Step: 4) Click test Connection button it will ask you for saving it press ‘ok’ then it will ask again for creating physical schema press ‘ok’


Creating a Physical Schema for XML

The Physical Schema will be a storage location for the tables associated with the XML file.

Step: 1) Select the appropriate XML Data Server then right-click and select New Physical Schema. The Physical Schema window will appear.


Step: 2) Name the Schema and Work Schema. Note that if you have named the schemawith the s=<schema name> property of the JDBC URL of the XML Data Server, you must use the same schema name here.


Step: 3) Save it.
 

Creating a Logical Schema for XML


Logical Schema can be associated with only one Physical Schema in a given Context.

Creating Model for XML:

Step: 1) Select Model tab in designer Navigator and select New model.


 Step: 2) In Definition Tab Specify the following details.


Step: 3) Perform the reverse Engineering


Creating an Excel Data Server


Prepare your Excel spreadsheet

First open up a Microsoft Excel spreadsheet, we will need to define a named range.
 
Step: 1) Open spreadsheet


Step: 2) Select Formulas-->Define Name


Step: 3) Select the range for the data


Define an ODBC Data Source

Step: 1) ODI will use an ODBC connection to natively access Microsoft Excel. Select start-->Administrative Tools-->data Source (ODBC)


Step: 2) click on Add select the Excel Driver press ‘Finish’. Specify the data source Name and description. Click on ‘Select Workbook’


Step: 3) Specify the Excel file path Press ok. You should now see your new ODBC Data Source listed in the ODBC Data Source Administrator.


Create a Data Server in Topology Manager

Step: 1) Open up Topology Manager and go to Physical Architecture. Right click on the Microsoft Excel technology and select New Data Server. In the Data Serverwindow enter a name in the Name field.


Step: 2) Go to the JDBC tab. Select the Sun JDBC-ODBC Bridge in the JDBC DriverList. 


Step: 3) In the JDBC URL template replace <odbc_dsn_alias> with the name of the ODBC Data Source you specified earlier. I used Excel data Server in this example.


 Step: 4) Click on Test and make sure you get a successful connection.


Click OK.

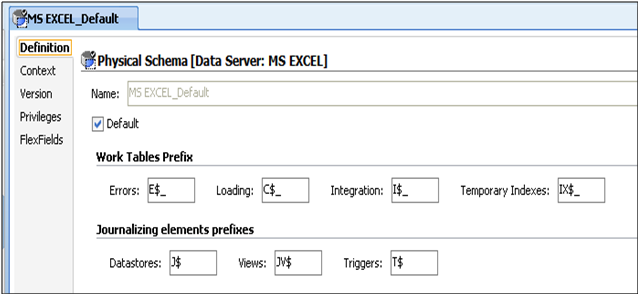
Step: 5) Go to Newly created data server and Right click select New Physical Schema 


Step: 6) Verify newly created Physical Schema.


Create New Logical Schema:

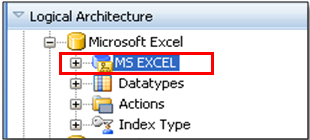
Step: 1) Select Microsoft Excel in Logical Architecture tab Right click and select new logical schema. Specify the name and map it with Contexts.


Create Model for Excel

Step: 1) Go to the Designer Navigator select model tab and create new model for excel.


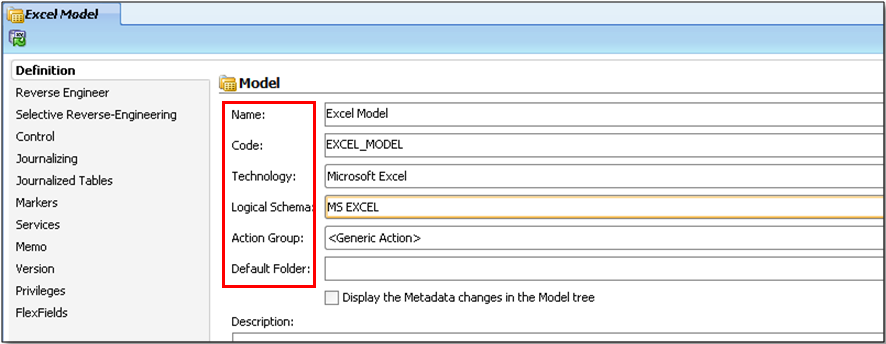
Step: 2) Specify the Name, Technology and Logical schema.


Step: 3) Select Reverse Engineering Tab. Select system table check box and go to Selective reverse Engineering tab.

 
Step: 4) Here select Selective reverse Engineering and Objects to reverse Engineering check boxes.
 
Step: 5) Save it and perform reverse Engineer of this model.

 
Step: 6) Right click on data store select View data.

 Done !